
How Deep Should Decorative Gravel Be for Garden Beds and Pathways?
August 14, 2026
Choosing the right depth for decorative gravel can make a noticeable difference to the appearance, stability and maintenance of garden beds and pathways. Too little gravel can leave bare patches, encourage weeds and allow stones to shift, while excessive depth can create an unstable surface and increase material costs.
Maitland Ready Mixed Concrete supplies materials for projects ranging from decorative garden beds to frequently used pathways, helping homeowners consider both appearance and practical performance when selecting gravel.
For those comparing landscaping products in Newcastle, gravel selection is only one part of creating a durable finish. The size and shape of the stone, intended use, ground conditions, drainage and level of foot traffic can all influence the appropriate depth. Considering these factors before installation helps create a surface that remains attractive, stable and practical over time.
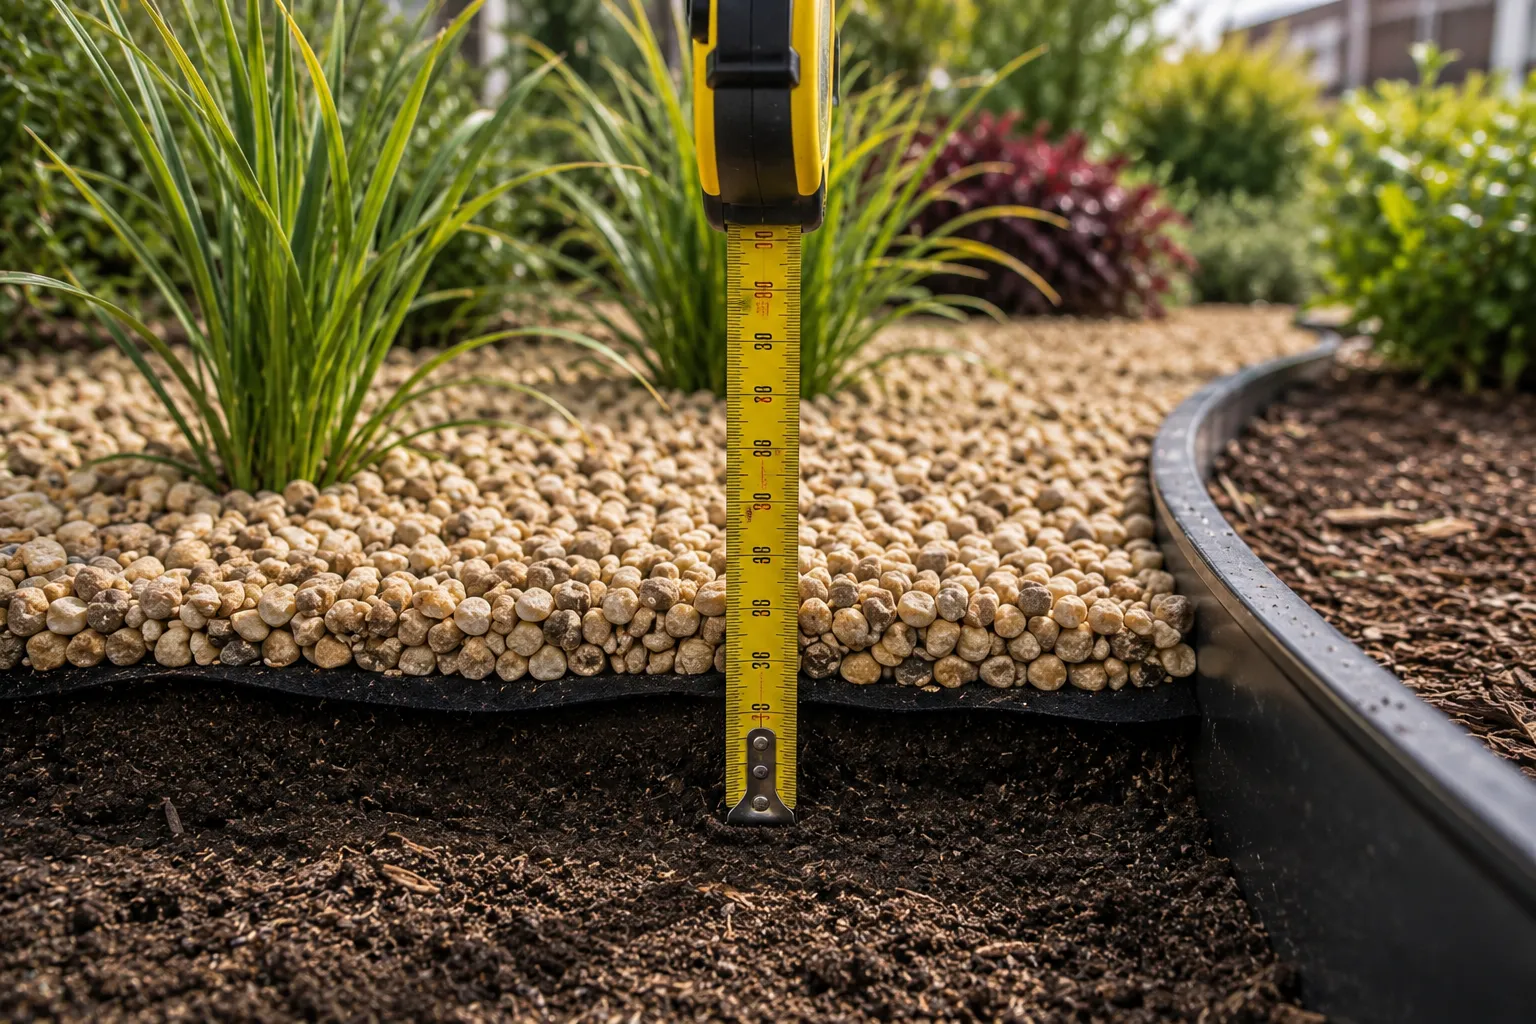
The ideal gravel depth for a garden bed generally ranges from 30 to 75 mm, depending on whether the area is planted, the size of the gravel and the finish required. A layer that is too thin can leave the soil or weed mat exposed, while excessive gravel can make planting more difficult and increase material costs without providing additional benefits.
For garden beds that are mainly decorative, 50 to 75 mm of gravel usually provides good coverage and a consistent finish. This depth helps conceal the underlying soil or weed mat while reducing the amount of light reaching weed seeds.
The gravel size can affect the depth required:
Finer gravel can provide a uniform finish at a shallower depth, while larger stones need more material to prevent gaps and exposed areas as the pieces shift.
For beds containing shrubs, succulents, grasses or other plants, 30 to 50 mm is more practical. This provides coverage and helps suppress weeds without creating an unnecessarily thick layer around plants.
Gravel should not be piled against plant stems or crowns. Instead, it should taper slightly around each plant to allow air movement and reduce the risk of moisture-related problems. The suitability of gravel also depends on the plants and the drainage of the underlying soil.
The condition of the ground beneath the gravel also affects how well the finished layer performs. A firm, well-prepared base helps prevent gravel from sinking into the soil and allows the surface to maintain a more consistent depth.
Where suitable ground preparation and geotextile fabric are used, 40 to 60 mm of decorative gravel can provide sufficient coverage for many garden beds. Correcting an unstable base is more effective than simply adding extra gravel.
For most residential garden pathways, 40 to 60 mm of decorative gravel provides good coverage and stability without creating a surface that feels excessively loose underfoot. The ideal depth depends on traffic levels, gravel type and the quality of the base beneath it.
A properly prepared sub-base is just as important as the gravel depth. Without adequate support, gravel can sink into the soil, develop bare patches and require frequent topping up.
The gravel depth can be adjusted according to how the pathway will be used:
Angular gravel performs better on walking surfaces because the pieces can interlock. Rounded pebbles tend to move more readily underfoot and are usually better suited to decorative or low-use areas.
Decorative gravel should sit over a firm, well-drained base rather than directly on loose soil. Choosing the right base material for garden paths is just as important as selecting the correct decorative gravel depth. For many garden pathways, a practical build-up includes:
The strength and depth of the base should be appropriate for the site and expected use. A properly compacted foundation reduces sinking and helps the decorative layer remain more consistent over time.
The right decorative gravel depends on how the area will be used, the desired appearance and how much movement the surface needs to withstand. Size and shape are important because different aggregates behave differently under foot traffic and weather exposure.
For garden beds, 5-10 mm decorative gravel is often a practical choice. It provides good coverage without creating an overly thick layer around plants and produces a neat finish around shrubs, succulents and grasses. Larger stones can be used when a more natural or textured appearance is preferred.
For pathways, small angular gravel is more suitable because the pieces can interlock and provide greater stability. A 5-10 mm aggregate can create a comfortable walking surface when installed over a suitable base.
Rounded river pebbles can be attractive in garden beds and other low-use areas, but they tend to move more easily underfoot. They are therefore less suitable for frequently used pathways where a firm, stable surface is important.
When selecting gravel, appearance should be considered alongside size, shape, traffic levels, drainage and the condition of the base. Choosing a material suited to the application can help reduce movement and ongoing maintenance.
Yes, a weed mat can be useful under decorative gravel, particularly where the soil is soft, disturbed or prone to weed growth. A permeable geotextile helps separate the gravel from the soil, reducing sinking and making it harder for weeds growing from below to emerge through the surface. However, it is not essential for every garden bed or pathway.
A permeable geotextile fabric is preferable to plastic sheeting because it allows water to drain through the gravel while helping maintain separation between the soil and decorative stone.
Weed mat can be useful when:
It is less critical where the ground is already firm and well prepared in established garden beds.
Weed mat does not prevent all weeds. Weed seeds can settle in dust, leaves and other organic material that accumulates on top of the gravel, so occasional weeding and surface cleaning may still be necessary.
If fabric is used, choose a durable, permeable geotextile and lay it flat with overlapping joins. Avoid thin plastic sheeting, which can restrict drainage and contribute to water pooling.
Weed mat should be treated as one part of a properly prepared gravel installation rather than a replacement for good ground preparation, suitable gravel depth and regular maintenance.
There is no single gravel depth that suits every project. The required thickness can change according to how the area is used, the gravel selected and the conditions beneath and around it.
Traffic levels are one of the main factors to consider.
Vehicle surfaces should be designed according to expected loads, ground conditions and drainage rather than applying standard garden-path depths.
Gravel size and shape influence how the material sits and moves. Choosing the right aggregate involves considering its size, shape, drainage characteristics and how the finished area will be used.
Smaller aggregates can provide good coverage at a shallower depth, while larger stones require more material to maintain an even appearance. Angular gravel tends to interlock better, whereas rounded pebbles are more prone to movement on walking surfaces.
A firm, well-prepared base helps maintain a consistent gravel depth. Soft or uneven ground can allow gravel to sink into the soil, so correcting the base is usually more effective than simply adding extra material.
Edging also helps contain gravel and prevent it from spreading into lawns, paving or surrounding garden areas. In locations exposed to heavy rainfall, suitable stormwater drainage and a stable base are important to reduce the risk of water displacing the gravel.
Ultimately, the right depth should be selected according to use, material and site conditions, rather than applying one measurement to every area.
Proper preparation is key to keeping decorative gravel at the correct depth and preventing sinking, spreading and weed growth. The installation process can be kept simple: prepare the area, create a stable base, then spread and level the gravel.
Pathways require a stronger base than decorative garden beds.
Before digging or excavating, check whether underground services could be present within the proposed work area.
Mark out the area and remove existing vegetation, roots and loose material. Excavate to a consistent depth that allows enough room for the base and finished gravel layer.
As a general guide:
The finished level should sit appropriately below surrounding lawns, paving or edging so the gravel remains contained.
Firm the exposed soil and remove or replace soft spots before adding base material. For pathways, compacted road base or crushed rock provides better support and helps prevent the decorative gravel from sinking into the ground.
A typical pathway build-up may include:
Where weed mat is used, lay it flat with overlapping joins and cut neatly around plants or fixtures. Avoid plastic sheeting that can interfere with drainage.
Once the base is prepared, spread the decorative gravel evenly to the required depth:
Use a rake to distribute the gravel and check the depth at several points to maintain an even finish. Light compaction can help stabilise suitable gravel on pathways, while garden bed gravel can be raked into place without heavy compaction.
Finish by checking that the gravel sits slightly below surrounding edging or paving. This helps contain the stones, maintain drainage and reduce displacement during everyday use.
Decorative gravel will naturally move a little in areas exposed to foot traffic, gardening and heavy rain. Simple maintenance can help keep the surface even, contained and attractive.
With proper edging, a stable base and regular maintenance, decorative gravel can retain its intended depth and appearance while reducing the need for frequent repairs or replacement.
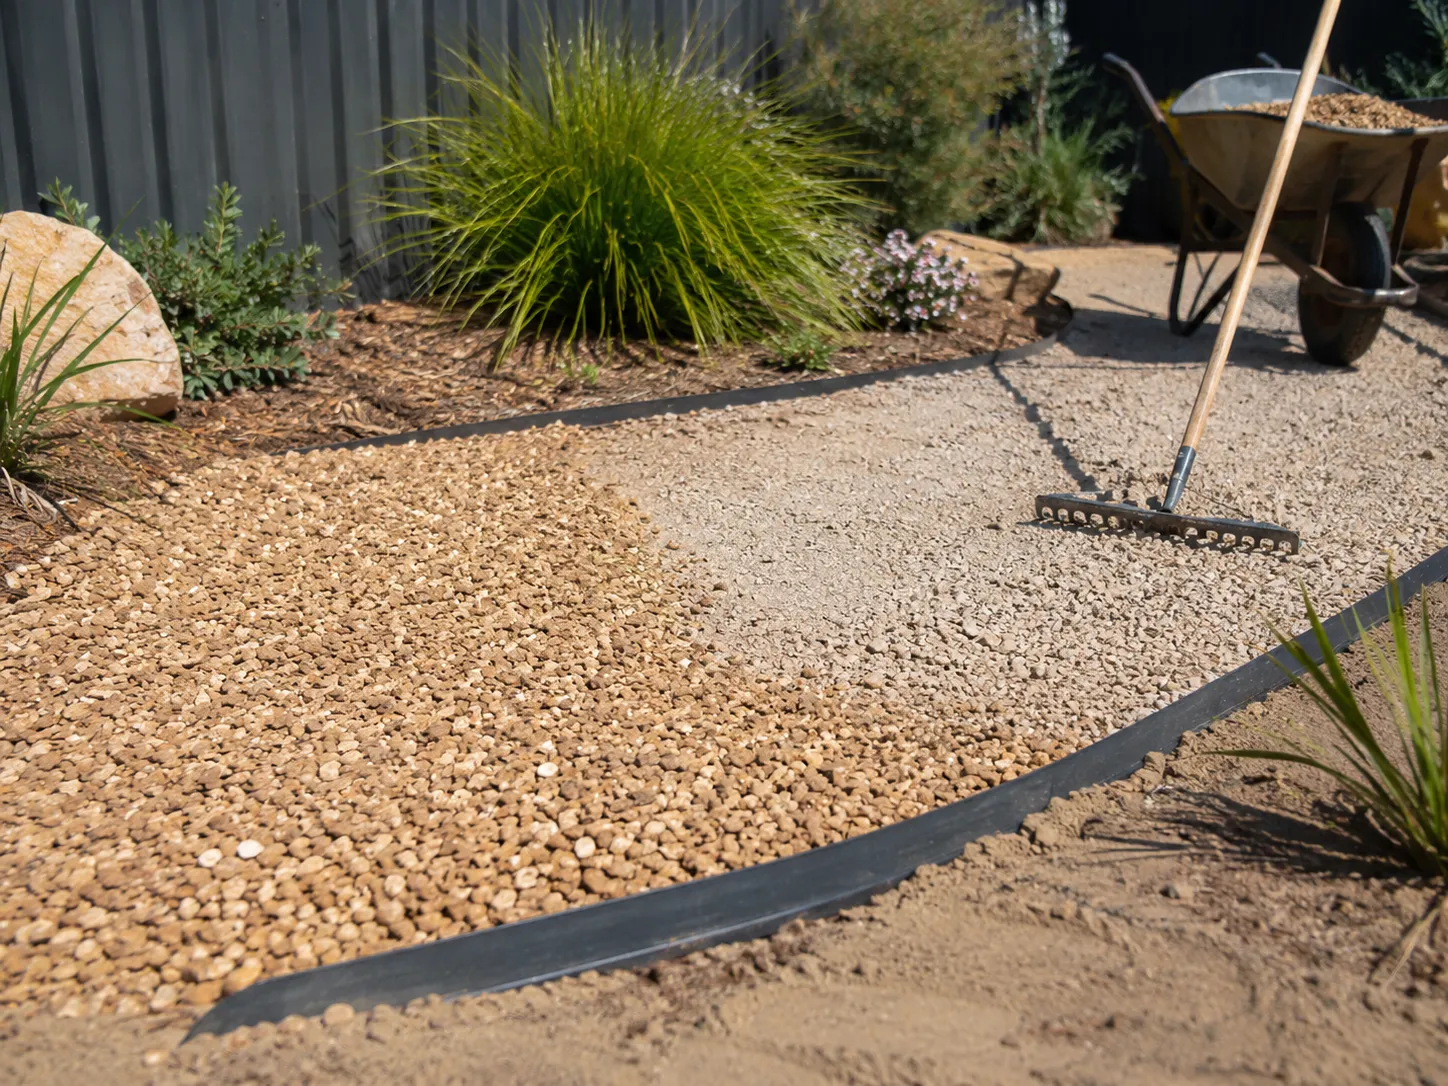
A successful gravel installation depends on more than choosing the right depth. Poor preparation, unsuitable materials, inadequate drainage and a lack of containment can all lead to movement, weeds and uneven coverage.
Avoiding these mistakes can help decorative gravel remain stable, even and attractive for longer. Choosing suitable landscaping materials for the intended application is an important part of achieving a successful result.
Calculating decorative gravel quantities starts with three measurements: the area to be covered, the required gravel depth and the material's approximate density. Getting these figures right helps avoid ordering too little, wasting excess material or falling short during installation.
For a rectangular area, multiply the length by the width:
For irregular areas, divide the space into smaller sections, calculate each area and add the results together.
Gravel depth is usually measured in millimetres, but volume calculations require metres:
For example:
Multiply the area by the required depth:
For example, a 10 m × 2 m pathway with 50 mm of gravel requires:
Allowing a small amount extra can account for minor measurement differences and material settling.
If gravel is sold by the tonne, volume can be converted using the supplier's stated density. A general guide for many decorative gravels is around 1.4 to 1.7 tonnes per cubic metre.
For example, using a density of 1.6 t/m³:
The most accurate quantity will depend on the specific gravel, so checking the supplier's recommended coverage or density before ordering is worthwhile.
Getting decorative gravel depth right is about balancing the material, its intended use and the conditions beneath it. Choosing a suitable depth, preparing a stable base and selecting gravel that suits the area can help prevent shifting stones, bare patches, weeds and unnecessary maintenance. For advice on suitable materials, gravel selection and preparation for projects, Maitland Ready Mixed Concrete can help homeowners choose a practical solution that suits the landscape and intended use.
Call our friendly and highly experienced team today to get your concrete, sand, aggregate, and landscaping products.
-1.png)

